Linksys RE7350 AX1800 Dual-Band WiFi-6 Extender Setup Process

Learn steps to complete Linksys RE7350 Setup the easy way!

Routers have become one of the key ingredients in a home network. However, when we consider large-scale networking, such as those found in offices or large organizations, using extenders to cover every corner becomes essential. If you’re worried about signal quality degradation at your place, or perhaps your farm or big home, then a Linksys extender can help you cover the dead zones effectively. This blog will guide you through all the necessary steps you need to follow to configure your Linksys RE7350 AX1800 Dual-Band WiFi-6 Extender Setup easily.

Linksys RE7350 Setup- What's required?

Before you begin setting up the Linksys RE7350 extender, you’ll have to ensure you have all the information about your router’s main network. You’ll require the SSID as well as the password for your network.

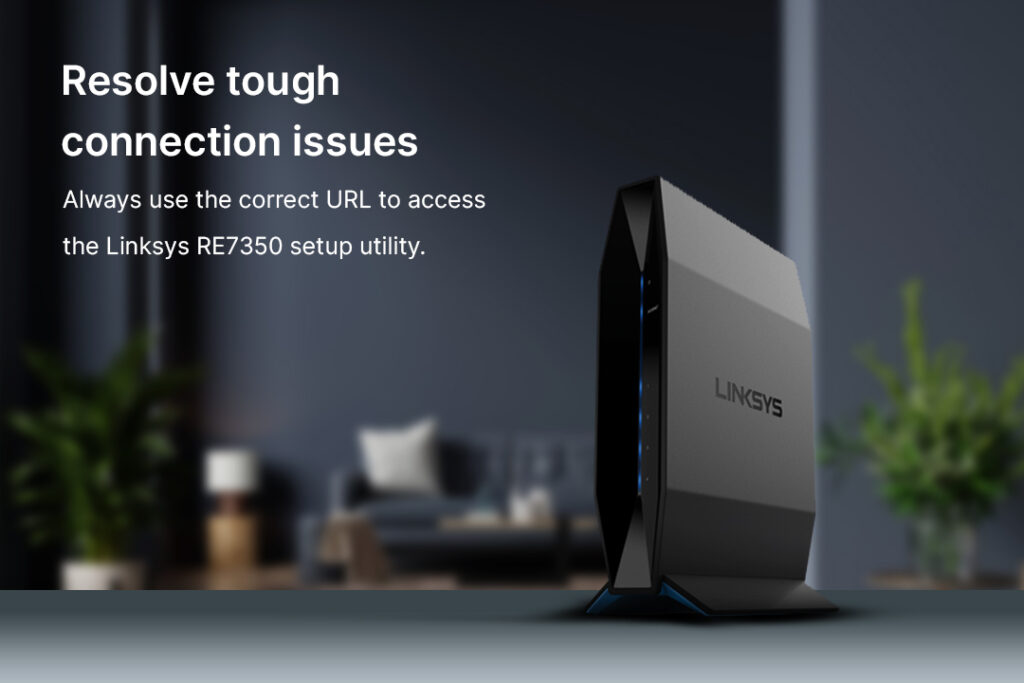
Also, make sure you have the admin information associated with your Linksys extender in your wallet. If you’re not certain of the correct URL or IP address to use to get to the Linksys extender login page, look up the manual of the product. For reference, you can use the web address https://extender.linksys.com and the IP address https://192.168.1.1 to access the same. Not last, ensure your device or the device you use to connect to the login page has been connected to an extender network.

For connecting to an extender’s network connect your laptop directly to the extender with an Ethernet cable, or utilize the WiFi feature too. If you’re employing the WiFi feature you’ll need the extender’s network SSID to be found in the user manual for the device or by putting the product’s label at the bottom or rear part of the unit. When you’re linked to an extender, you’ll notice the status of the connection to the right-hand side of the taskbar.

Linksys RE7350 Extender Setup- the main steps

  • Make sure that your router is up and functioning.
  • Attach the power cable to connect your Linksys extender to a power source, then turn on the power supply. Make sure that you do this in the same space as your primary router. This will ensure that you do not encounter issues with your network’s connectivity.
  • Wait for the device to start up and for the power LED to turn solid.
  • Connect your extender with your computer using a wired or a wireless connection.
  • Launch a web browser on your computer/ smartphone and in the address bar, type the default web address, https://extender.linksys.com and press the Enter Key If entering the web address does not yield any results, then you can make use of an IP address that is default https://192.168.1.1 for accessing your Linksys extended login screen.
  • When you arrive on your Linksys extension login page you’ll be asked to give admin information such as the username and password. In the username fields, enter “admin” and leave the password field unfilled. Click the Login button.
  • An extender log-in wizard can check the credentials and, if they are valid, it will direct your back to the Linksys extender configuration window.

Setting up the network settings

SETTING-UP-THE-NETWORK-SETTINGS
  • From the homepage Go on to”Wireless” from the home page “Wireless” section. Then, select”Wireless” and then click on the “Basic Wireless Settings” option.
  • The wizard for setting up will search for wireless networks within the area you are in. A list of these will be shown to you. Choose the network that is connected to your router. In addition, enter the router’s password for the network and then click the “Join” button.
  • Then, you can specify an additional SSID to your network extender. You can also create an effective passphrase.
  • Choose the appropriate security type for the network such as WPA2-PSK, and then click the “Next” button.
  • The final screen gives you an overview of the settings for your network that you have set. Check the settings and then select the “Save and Finish” buttons.

The Linksys RE7350 extender setup process is now complete. If you need help with the setup, you can always reach out to the team at our end.

Troubleshooting issues with Linksys RE7350 Setup

You might come across issues with the Linksys RE7350 extender setup page, forcing you to look for ways to resolve them. While you are looking for them online, you can always follow some basic troubleshooting steps to resolve the issue:

  • Always connect your computer/wireless device to the extender’s local network before you access the login page. This is because the setup utility is based on the local device server and will need a connection to the device for access.
  • Check if the ethernet cables that you are using are in the best shape and not damaged. If you see any signs of damage on the cables, it is prudent that you change them.
  • Always use the correct URL to access the Linksys RE7350 setup utility. You can refer to the correct web address details from the product label on the device. Also, ensure that you are using the correct username and password details for login.
TROUBLESHOOTING ISSUES WITH LINKSYS RE7350 SETUP image
TROUBLESHOOTING ISSUES WITH LINKSYS RE7350 SETUP
  • If there’s an antivirus or system firewall installed that’s causing issues with the access, disable it temporarily and then try to access the login page again. Make sure you reactive the protection once the setup process is over.
  • Try clearing the cache and cookie files on your system browser. Once you have deleted the history and these files, you can restart the browser and try again accessing the login page.
  • Power cycle your computer/wireless device and the extender as well. Restarting them will clear the cache memory. You can try accessing the login page again and setting up your network.

If you continue to face issues with the Linksys RE7350 extender setup process, you can restore the device settings to factory default. Doing so will delete the previous configurations and put the device back in the factory stage. You can then proceed with the reconfiguration process.

Need more support on Linksys RE7350 setup? Get in touch with the team now!