

Router/
modem

internet
connection

web and
IP address

admin
credentials

Linksys
app

Computer/
smartphone

Ethernet
cables

Linksys RE1000 Manual Setup Using Extender’s PIN
Steps to Set Up Linksys RE1000 Using the Setup CD
Linksys RE1000 Manual Setup Using Extender’s PIN
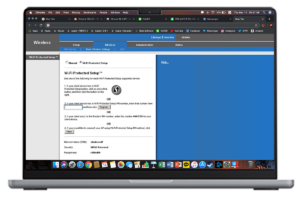 Firstly, log in to your Linksys RE1000 account using the web GUI method.
- After that, select the Wireless option.
- Now, choose your device from the available list.
- Then, enter the 8-digit extender pin in the given input field carefully.
- After that, click on OK.
- Finally, the client device is connected to the extender.
Steps to Set Up Linksys RE1000 Using the Setup CD
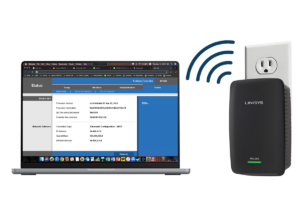 Initially, connect your PC to the wifi network and place it near the router.
- Now, insert the setup CD into the PC and initiate the setup process.
- Further, agree on the license terms and click Next.
- Thereafter, plug in the extender to the electrical socket and it will search for wireless networks automatically.
- Now, choose your network on the computer screen from the available list.
- Fill in the password in this box and click OK.
- Finally, you’re done with the RE1000 setup process.